WHAT DO YOU USE TO CARRY YOUR EMBROIDERY PARAPHERNALIA?

#seamstress #wwproblems I was carrying this ugly ziplock pouch with my threads for a while now for when I m doing #embroidery while in the transports or away from home and was feeling pretty ashamed for having such an ugly thing in my bag. Lazyness winning it all I really had to wait the moment when the bottom openned and I was gonna loose things to find a better option. I then decided to go for a gorgeous #vintagezipper in a #powderpink color with #ivory #silkorganza so I could see through which I find convenient. I aslo added some #couture#frenchseams ET VOILA! Pretty happy that good old plastic bag collapsed!👧🏻🤘🏻#sewing

BEFORE….. :(((

AFTER :)))


SEWING WITH LEATHER! From a pile of leftovers to a handbag.

Last summer while having my stall as usual at the Brunswick Festival in Hove, I was selling a Vintage dress to a lovely woman who just found the perfect one to match a piece of leather she just bought minutes ago…..

That was such an amazing quality of lambskin and I immediatly fell in love with the colour and the cute silver dots. I was lucky enough to be told that there were a pile of these left, for sale , just 2 stalls away from mine, at the stall of my lovely neighbour Jo. I bought all that was left, not knowing for sure what I was gonna do with these. Jo told me she silk printed them herself but couldn t find the time to use them.

I decided to give a go and try to make the perfect sized handbag, with a lot of zippered pockets and a removable padded pouch for my Ipad mini.

Getting a bit of inspiration and measurements from a friend' s bag I pulled out the rotative cutter and looked for the vintage zippers I had in my stash.

It was also the first time I used the very handy hand press machine, so much more efficient than the hammer method.

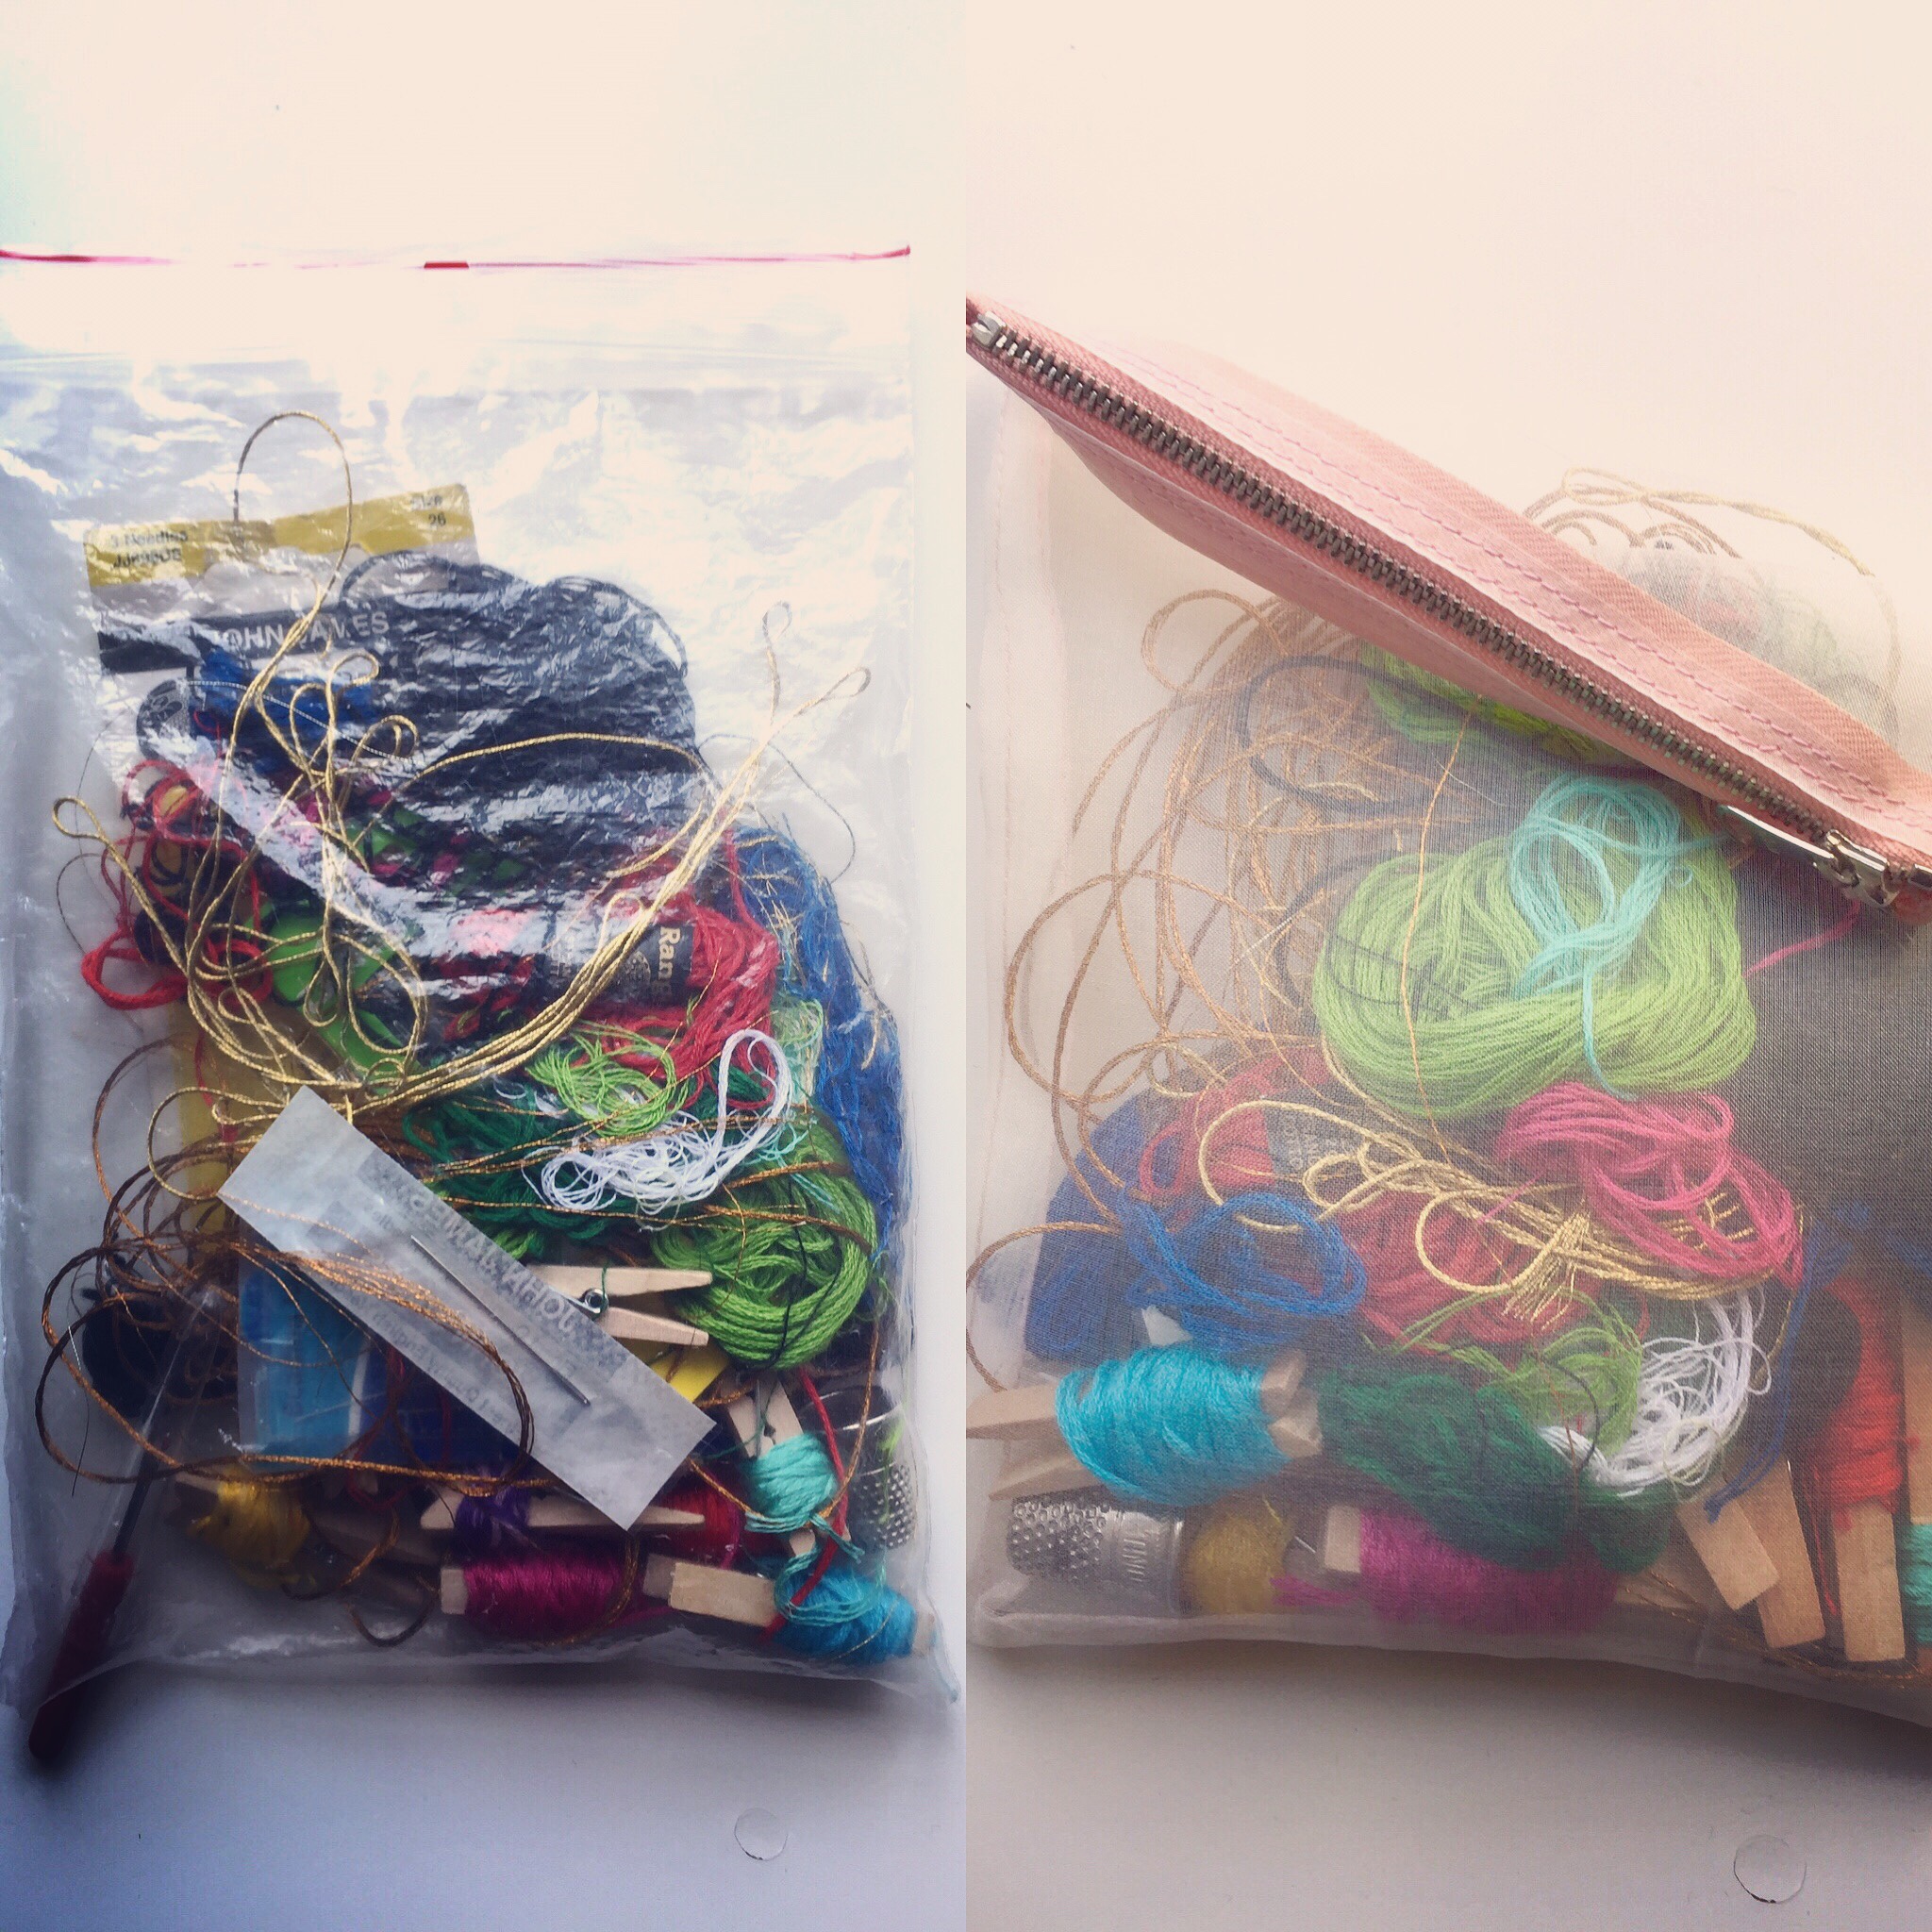
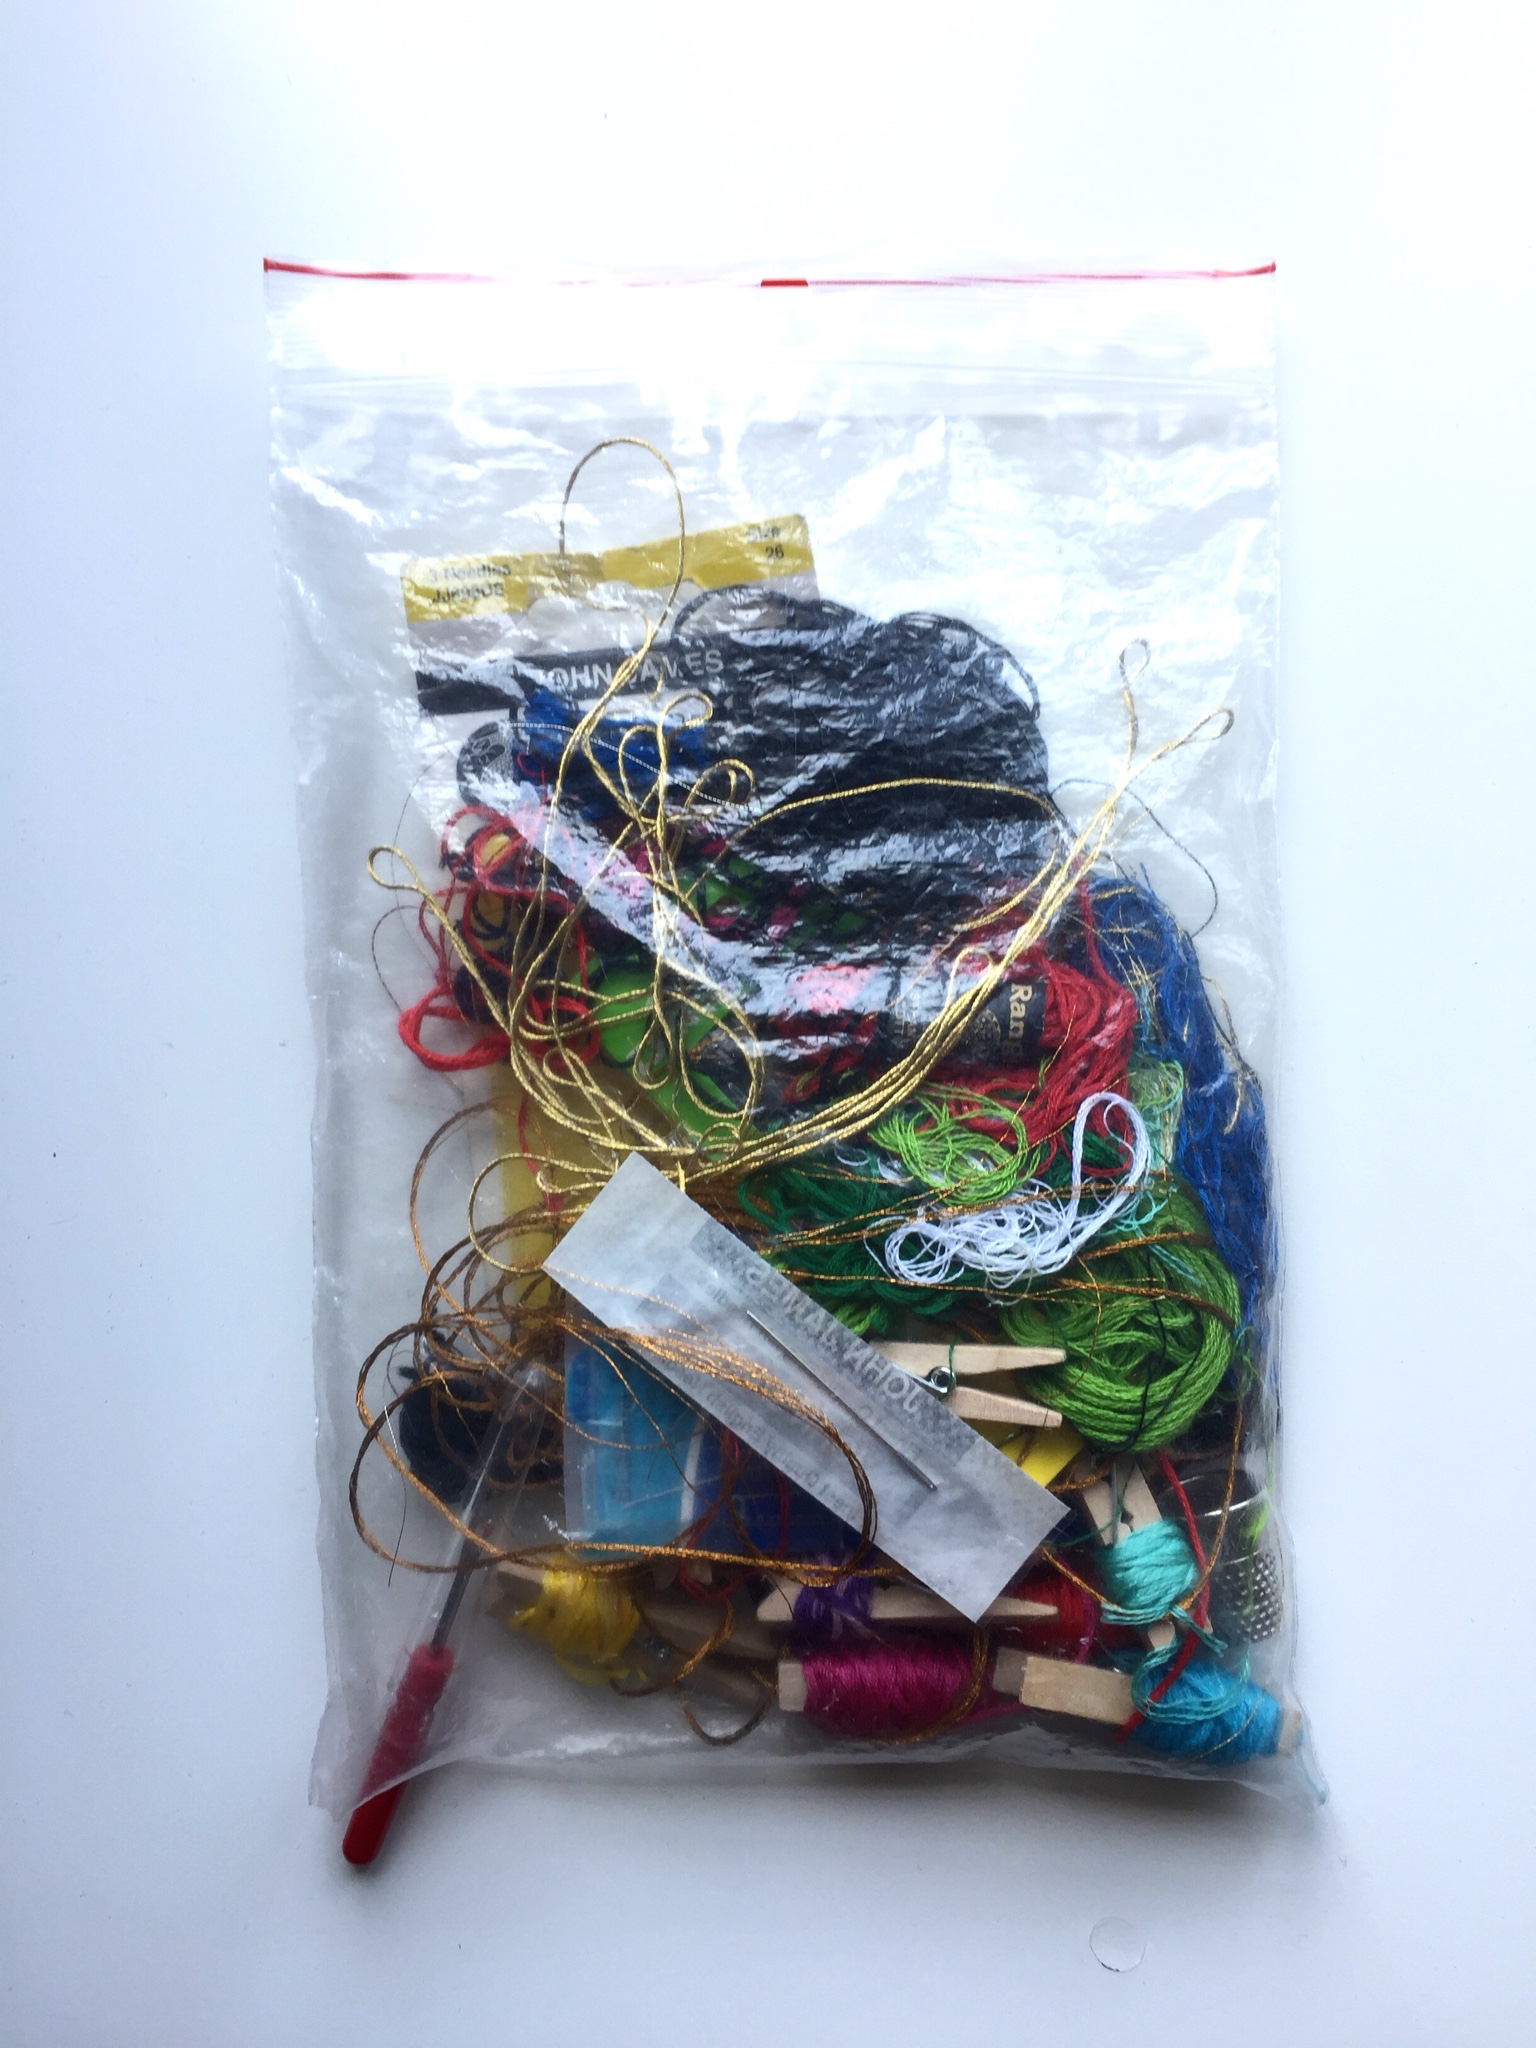
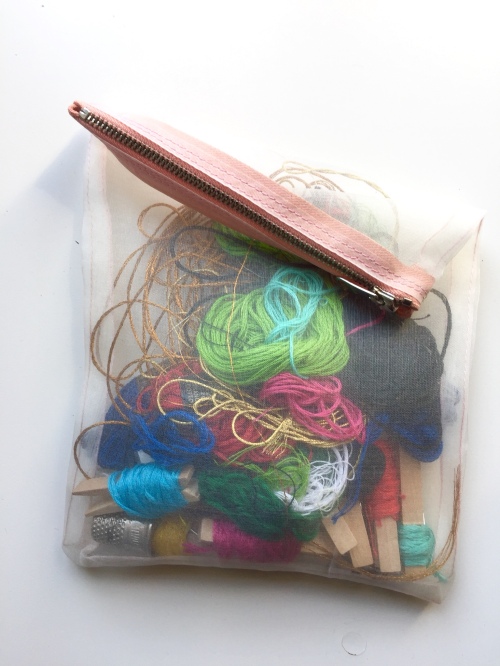
Making a bag needs a lot of thinking and for me it was a first to do such a sophisticated one, so I made a bit of mistakes, but the result is ok. And I ve got all the pockets and places to tidy my survival kit while travelling.

And, cherry on the cake, I ve got enough leather left to make one or 2 zipper pouch like the one I use for my drawing tools.


Next step might be to sew a black quilted lambskin handbag, Chanel style!…..


From Tablecloth to 60′ s A-line dress

I ve been given 2 huge bin bags full of old tablecloth. I usually accept all kinds of vintage fabric, linen, curtains, etc…..as I know some of them can become very interesting to upcycle.

I ve made some of my favorite dresses from curtains.

I also decided I wanted to sew A-line dresses for my stall next summer at the Brunswick Festival in Hove. They are easy to do, suit and fit most of the people and are timeless.

I decided to give a go with these tablecloth, using an old ” pattern” I found 4 years ago in a tutorial from Elle magazine. It s a very simple pattern, 2 pieces of fabric, front darts at the bust and no closure. The pattern goes for facings around the neckline and armholes, but I decided to sew bias instead. I also rounded a bit the armholes.

In case you are interested to give it a go, here are the patterns, the measurments are in centimeters and DO NOT include the 1.5cm seam allowances.

For the first dress, I choose the fabric I liked less to check first if I liked this pattern.

I must admitt I m quite happy with the result and even made a coordinating Tote Bag for fun!

More A- line dresses to come soon!!!!


A VERY PRACTICAL PURSE FOR MY EMBROIDERY WORKS

I needed a practical, light but efficient little bag to tidy, carry and protect my embroidery works while travelling.

I ve spent a lot of time browsing on internet desperatly to find the perfect one. Lots of them where pretty big with tonns of complicated subdivisions and required the use of a million notions to make. I really couldn t make up my mind, when suddenly I thought of one of my favorite zipper pouch: the one I made using the Craftsy tutorial. I already made a post about it:

https://vintagemadbymuriel.wordpress.com/2014/06/05/a-personnalized-zipper-pouch-video-tutorial-from-craftsy/

After all, it s a very solid, light but protective pouch and I already made more than 20 of them to give to friends or to keep. Of course for my 17cm embroidery hoop I needed more a square shape than a rectangle. I then simply changed the measurements of the 3 basic pieces of fabric and upgraded them to : 25 . 25 cm, 25 . 9 cm and 25 . 17 cm.

I had a very beautiful small piece of vintage fabric, I really loved it but didn t know what to sew out of it. It was too small for a bag, not appropriate for a headband and I wanted something that I would as well use a lot and keep for ever! And it was perfect for my embroidery travel bag! I also choose a nice vintage metal zipper.


How cool it is when the lining is almost as beautiful as the outside……

When I tidy my embroidery I just put the threads over the embroidery then fold the 4 sides of the fabric towards the right side of the embroidery and it s ready to go in my lovely zipper pouch!

I love it so much that I might make one for all the different sizes of embroidery hoop I possess!

I had a few little fabric left and will make an other zipper pouch, smaller and adding a little dyed linen to complete it as it s not enough for a whole pouch. Pictures coming soon!